Feature lighting that looks right and remains usable
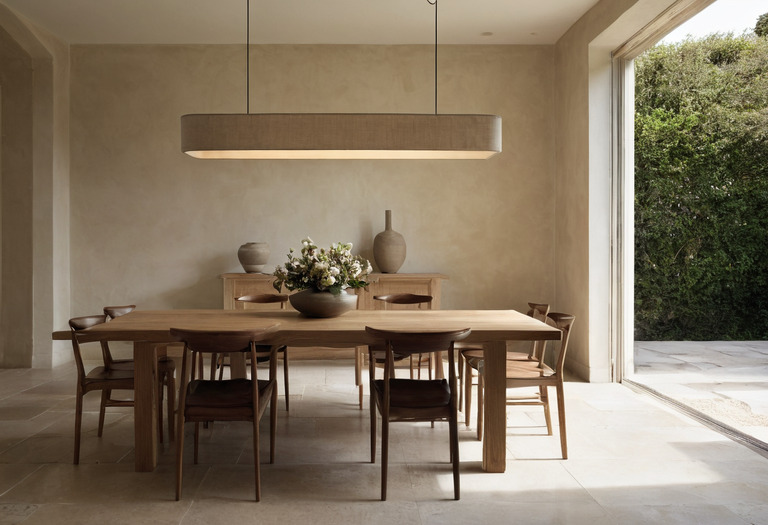
A successful pendant suits the furniture below, keeps the light source outside normal sight lines, and dims without flicker or sudden shutoff. Those decisions require measured elevations and a tested control combination.
A feature light is not successful merely because the fitting attracts attention. A pendant must relate to the table or island below, illuminate the intended surface, and remain comfortable during a long meal. The fitting also belongs within a lighting plan that separates ambient, task, and accent light, rather than carrying every lighting duty alone.
Scale drawings can settle the first approximation. A cardboard mock-up and a working sample settle the decisions that drawings cannot show, especially glare, reflections, and low-level dimming.
How high should a pendant hang?
Pendant height should be set relative to the surface and people below, not relative to the ceiling alone. A practical starting position places the fitting's lowest opaque edge between 700 and 900 mm above a dining tabletop, or between 750 and 900 mm above a kitchen counter. Neither range is a building standard.
| Location | Measurement | What decides the final position |
|---|---|---|
| Dining table | 700 to 900 mm between tabletop and lowest opaque edge | Seated eye line, centerpiece height, shade depth, and source shielding |
| Kitchen island | 750 to 900 mm between finished counter and lowest opaque edge | Standing sight lines, extraction equipment, food preparation, and cleaning access |
| Open circulation route | Clearance based on the tallest regular user and applicable local requirements | Body movement, maintenance access, and any door or cabinet swing |
The dining range works because the table reserves the volume below the fitting. A pendant over an unprotected walkway needs substantially more clearance. Local electrical and building requirements can also govern installations near baths, wet areas, stairs, and escape routes.
A kitchen pendant position should follow the confirmed island dimensions and working clearances. Moving an island by 100 mm after the ceiling point is installed will make a precisely centered pendant visibly wrong.
How large should the fitting be against the furniture?
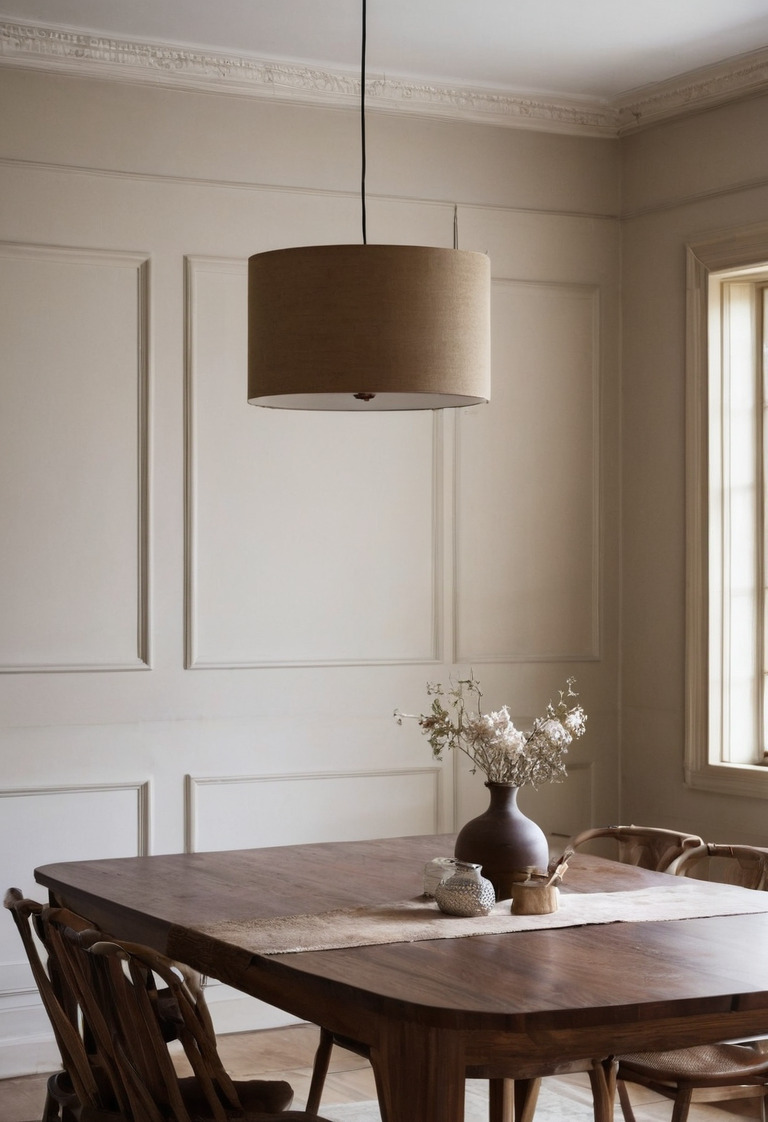
Pendant scale should be judged against the furniture footprint, room volume, and visual mass of the shade. Designers often begin with a fitting measuring 50 to 70 percent of the supporting table's length, but no ergonomic evidence makes that ratio universally correct. Open wire frames also read smaller than solid shades with identical dimensions.
For a 2,400 mm long rectangular dining table, the 50 to 70 percent convention suggests a linear fitting between 1,200 and 1,680 mm long. For a 1,200 mm diameter round table, the related convention suggests a round pendant between 600 and 800 mm in diameter. Both examples describe design starting points, not standards.
A full-size paper outline taped above the table reveals whether the fitting crowds the table ends. A rough three-dimensional model made with cardboard reveals bulk more accurately than a ceiling plan. The model should include the ceiling rose because a large canopy can alter an otherwise balanced composition.
Multiple pendants should form one arrangement rather than several unrelated objects. Equal center-to-center spacing is a sensible default, while the outside shades should remain visibly inside the island or table ends. Sink centers, cooktops, ceiling joints, and cabinet divisions may justify an adjusted rhythm.
A pendant is scaled by visible mass, not diameter alone. A transparent globe, an open metal frame, and an opaque drum can share one diameter while appearing radically different.
How does the shade stop glare?
Glare control begins by checking whether a seated or standing person can see the bright lamp, LED board, or narrow diffuser. The shade's lower rim should hide the source across normal viewpoints. A frosted lamp reduces source luminance, but frosting cannot correct a shallow shade that exposes the lamp directly.
A designer can test the shielding geometry without specialist software. One person sits in every likely chair while another raises and lowers the mock-up. The test should include a tall user, a shorter user, and views across the table rather than only the approach into the room.
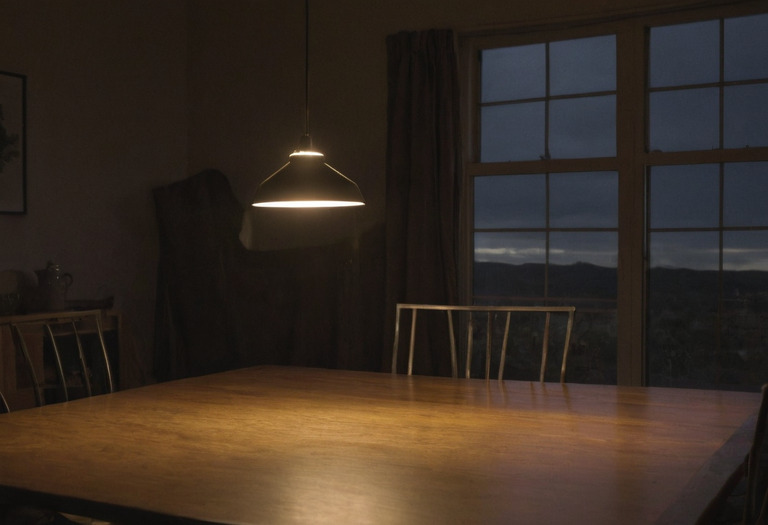
Reflective surfaces add a second glare path. Polished stone, gloss lacquer, glass tabletops, and dark windows can mirror a source that appears shielded directly. The relationship between paint sheen and reflected light also explains why a pendant can look harsher after decoration is complete. Heavily textured surfaces scatter light differently, as described in the note on how texture changes a room's light.
A decorative exposed lamp is not automatically comfortable because the lamp has low wattage. Source area and luminance govern visual discomfort. Review the actual lamp at the intended output, viewing distance, and dimmed level.
A louver, deep baffle, opal diffuser, or concealed source can provide shielding. Product photographs rarely prove adequate shielding because photographs are usually taken above or level with the fitting. A section drawing showing the source position and shade rim provides better evidence.
How much chain or cable should be ordered?
Cable length should be calculated using the finished ceiling height, finished furniture height, chosen pendant position, and internal suspension route. The purchasing allowance must also cover trimming, termination, and leveling. A ceiling point shown on an early reflected ceiling plan is insufficient if the slab, dropped ceiling, or table position later changes.
For a pendant ending 800 mm above a 750 mm high dining table beneath a 2,800 mm finished ceiling, the visible drop is 1,250 mm. The supplier should add the length concealed inside the canopy and fitting, plus a practical installation allowance agreed with the electrician. The electrician should not splice a decorative cable merely because the ordered drop was short.
- Finished ceiling level
- Measure the final painted or clad surface, not the structural slab shown on an early drawing.
- Target underside level
- Add the finished furniture height to the chosen clearance above that furniture.
- Canopy and fitting route
- Confirm how much cable disappears inside the ceiling rose, stem, chain, and body.
- Support method
- Confirm that the structural fixing carries the fitting's declared weight independently of the electrical conductors.
Sloped ceilings require either a canopy designed to articulate or a suspension system that remains vertical. Heavy fittings may need blocking, a structural anchor, or a separate safety restraint. The contractor should coordinate those provisions with cabinetry and ceiling tolerances before surfaces close.
Which dimming behavior makes a fitting usable?
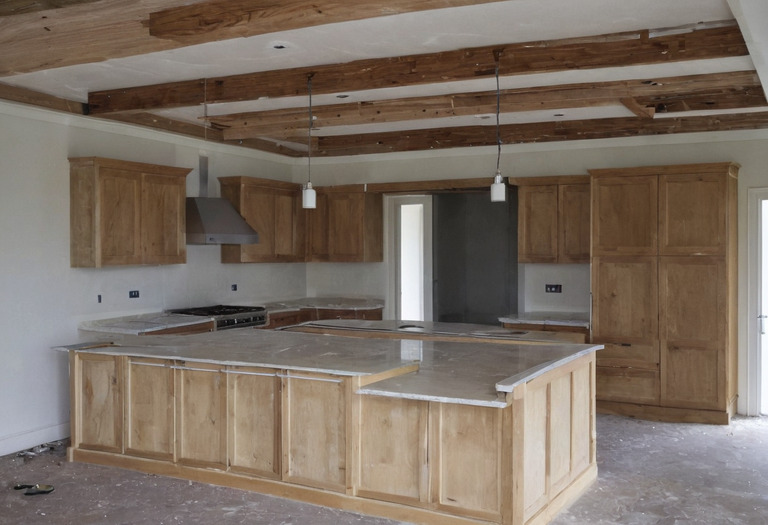
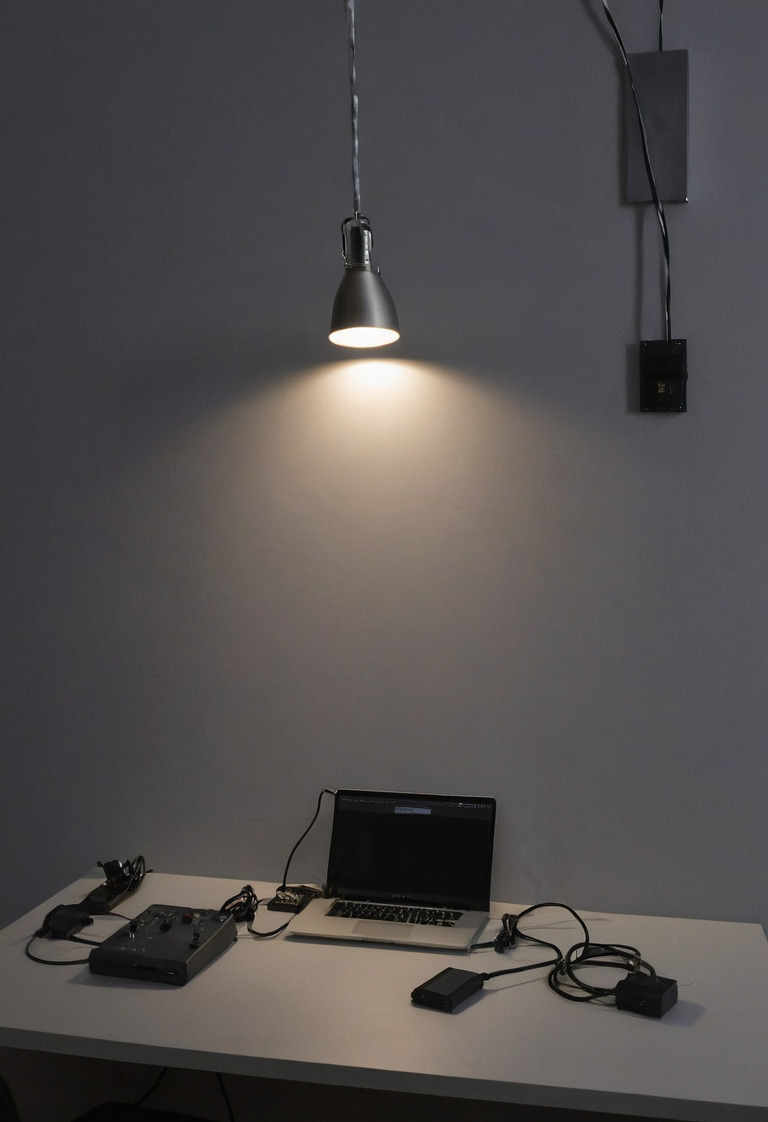
A usable feature light should start reliably, dim smoothly to the requested low level, remain stable, and return without a sudden jump. LED performance depends on the complete combination of source, driver, dimmer, load, and control protocol. A claim that each component is "dimmable" does not establish compatibility between components.
Phase-cut controls can use leading-edge or trailing-edge operation, and the fitting manufacturer should identify the supported type. A 0-10V, 1-10V, or DALI driver needs the corresponding control wiring and equipment. Decisions affecting control cable belong early in a renovation, alongside the systems that must be planned before walls close.
The sample test should check:
- cold start at the lowest intended setting;
- warm start after the fitting has operated for 30 minutes;
- smooth travel across the full dimmer range;
- visible shimmer at low and medium output;
- sudden dropout before the control reaches its minimum;
- a bright flash or "pop-on" during startup;
- audible noise at the fitting, driver, and wall control;
- behavior after a power interruption.
A driver described as dimming to 1 percent refers to the driver's declared output capability under specified conditions. The 1 percent rating does not guarantee that the eye will perceive a gentle 1 percent light level, nor does the rating prove compatibility with every control system. Human brightness perception is nonlinear.
Integrated LED fittings need a documented route for replacing the driver and, where possible, the light engine. Replaceable-lamp fittings offer simpler maintenance, but lamp dimensions can alter shielding and appearance. The specified replacement lamp must fit fully above the shade rim.
What should be checked before the order is released?
The final review should combine a dimensioned elevation, a full-size volume check, and an electrical compatibility test. The review should also compare the pendant against daylight, adjacent downlights, wall colors, art, and reflective finishes. A feature fitting cannot be judged accurately as an isolated product image on a white background.
The order should record the following information:
- Finished table, island, or bedside surface dimensions.
- Finished ceiling height at the exact suspension point.
- Target height for the fitting's lowest opaque edge.
- Overall fitting dimensions, canopy dimensions, and declared weight.
- Supplied suspension length and permissible shortening method.
- Lamp or integrated LED specification, including color temperature and replacement route.
- Driver model, control protocol, and declared dimming range.
- Structural fixing responsibility and maintenance access.
- A tested sample or written compatibility schedule for the selected dimmer.
Daylight can change the required daytime output, especially beside large glazing. The note on curtains, openness factor, and fading explains why the window treatment belongs in the same review. Artwork also needs separately aimed light rather than accidental spill, with guidance covered in art hanging and lighting positions.
A final site mock-up should happen before the contractor cuts a decorative ceiling or shortens a nonreplaceable suspension cable. Ten minutes spent checking eye lines can prevent a fitting that looks dramatic in photographs but remains switched off during dinner.
Questions readers ask
- How high should a pendant hang above a dining table?
- A useful starting range places the pendant's lowest opaque edge between 700 and 900 mm above the dining tabletop. The final position should be checked against seated eye lines, ceiling height, and the fitting's light source.
- How large should a pendant be over a table?
- A common design convention makes a single round pendant 50 to 67 percent of a round table's diameter. A linear fitting often occupies 50 to 70 percent of a rectangular table's length, but both ratios require a full-size mock-up.
- How can a pendant light avoid glare?
- The shade, louver, or diffuser should conceal the bright source at every normal seated and standing viewpoint. A low-wattage decorative lamp can still cause glare because visible source brightness matters more than wattage alone.
- Why does an LED pendant flicker on a dimmer?
- Flicker usually indicates an incompatible lamp, driver, dimmer, control protocol, or electrical load. The electrician should test the exact production combination across its full dimming range before final installation.