Custom cabinetry: substrates, hardware, tolerances and drawings
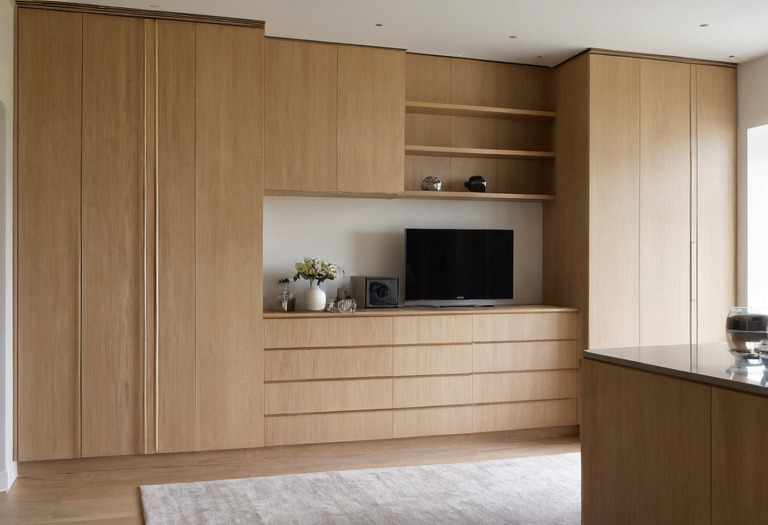
Good cabinetry depends less on decorative finish than on choosing the right substrate, specifying hardware by performance and resolving every junction before production begins.
Custom cabinetry is a small construction project disguised as furniture. The visible doors may be simple, but the result depends on hidden carcasses, edge treatments, hinge geometry, wall conditions and disciplined information exchange.
The same rigor applies to a kitchen, wardrobe, library or media wall. A designer should coordinate cabinetry with the room plan early, especially where kitchen and bathroom clearances or bedroom wardrobe depth and circulation control the available volume.
Which substrate belongs in each cabinet component?
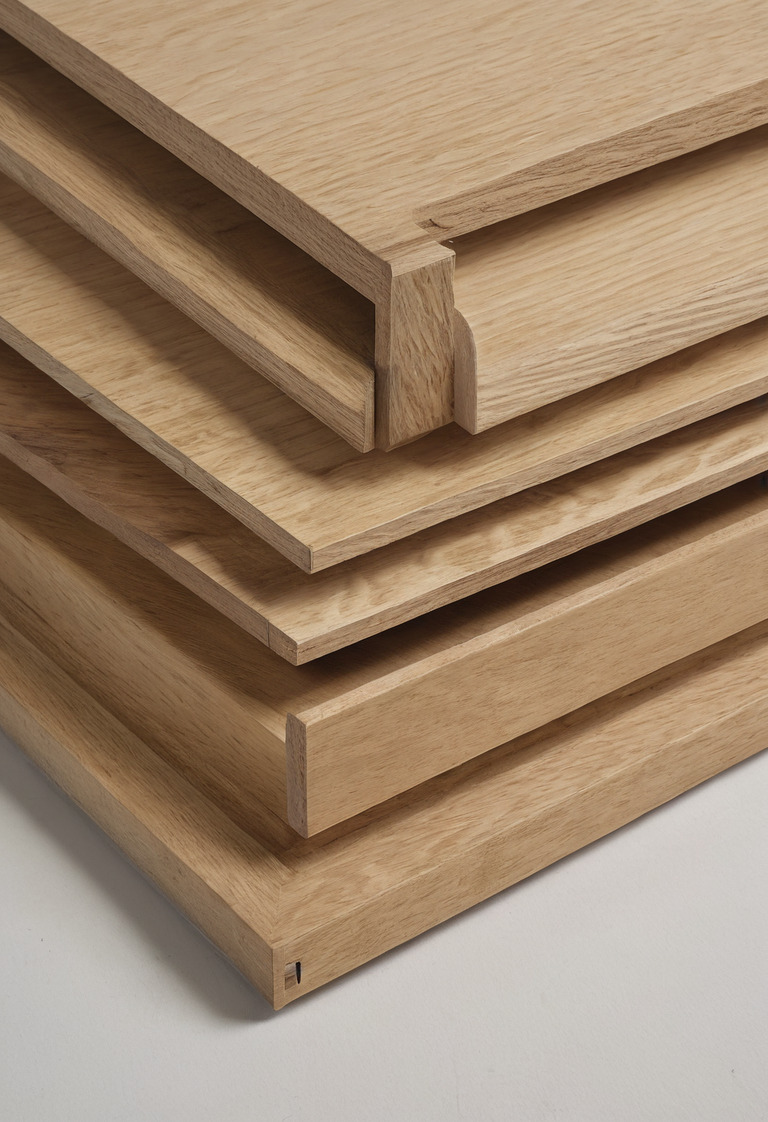
Material selection should follow the component rather than a hierarchy in which solid wood is automatically superior. Painted doors benefit from stable MDF, carcasses often suit plywood or coated board, and exposed frames may justify solid timber. Moisture exposure, span, edge visibility, screw holding and finish quality should decide the specification.
| Material | Useful applications | Main cautions | Typical project thickness |
|---|---|---|---|
| MDF | Painted doors, end panels, shaped profiles and short shelves | Edges require sealing; prolonged water exposure causes swelling; heavy shelves can sag | 18 to 22 mm for residential doors; 18 or 25 mm for shelves, subject to span |
| Veneered MDF | Flat doors and panels requiring consistent grain and stable dimensions | Veneer sequence, balancing veneer and edge treatment must be specified | 18 to 22 mm for residential doors and panels |
| Plywood | Carcasses, sink units, shelves and components requiring strong screw holding | Face quality and internal voids vary by plywood grade; exposed edges change the visual character | 18 mm for many residential carcasses; engineering must follow load and span |
| Solid wood | Door frames, lippings, handles, trims and exposed structural details | Timber moves across the grain as humidity changes; wide flat panels require movement allowances | Component-specific rather than a universal sheet thickness |
Moisture-resistant MDF is not waterproof. A contractor should still seal cut edges, sink cutouts and floor-level junctions. Plywood also needs protected edges and a sensible plumbing detail.
Shelf design requires a load assumption. An 18 mm-thick MDF shelf spanning 900 mm may look adequate while empty but can deflect under books or stacked tableware. A 25 mm-thick shelf, solid front lipping, concealed steel stiffener or central divider can reduce the risk. No single sag limit applies to every substrate, load duration and edge detail.
Veneer specifications should name the timber species, cut, leaf arrangement, grain direction, sheen and approved sample. The way marble and wood age also matters where cabinetry meets natural stone or existing timber. Environmental claims need equal precision, and the journal note on useful material certifications explains what documentation to request.
What makes cabinet hardware worth specifying?
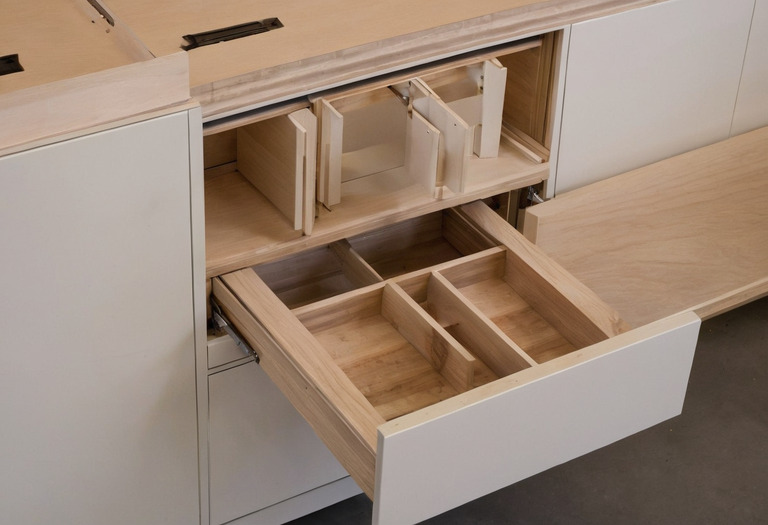
Hardware quality is measurable through load capacity, adjustment, opening geometry, corrosion resistance, tested cycles and access to replacement parts. Labels such as premium or soft-close reveal little by themselves. The designer should schedule each hinge, mounting plate, runner and lift mechanism against the actual door size, weight and intended use.
- Concealed hinges
- Confirm the door thickness, hinge-cup drilling, opening angle, overlay condition and maximum supported door size stated by the hardware manufacturer.
- Drawer runners
- Specify extension type, declared load rating, drawer dimensions, closing action and required side or under-drawer clearances.
- Pull-out fittings
- Check the loaded weight, handle force, fixing substrate and access needed for future adjustment.
- Wardrobe rails
- Coordinate rail length, bracket spacing and hanging height with the clothing type rather than copying a generic wardrobe section.
A 40 kg-rated runner does not make a 40 kg drawer sensible unless the drawer box, fixings and cabinet sides support the same declared load. A wide drawer also places different stresses on a runner than a narrow drawer carrying the same contents.
Frequently used storage deserves the stronger specification. Filing drawers in a working home office and shoe drawers in a hard-wearing entrance usually experience more demanding loads than a guest-room bedside cabinet.
What must the shop drawings prove before production?
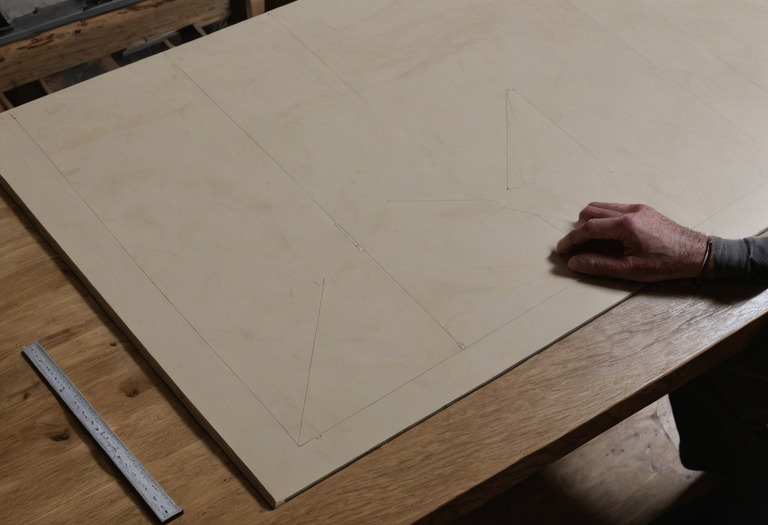
Shop drawings should prove that the cabinet fits, functions and can be installed. Attractive elevations are not enough. The drawing set must resolve internal dimensions, material thicknesses, door swings, fillers, grain direction, hardware positions, service routes, ventilation, access panels and junctions with floors, ceilings, stone and adjacent walls.
A useful submission normally includes:
- A plan and front elevation at 1:10 scale should establish the complete geometry.
- Cabinet sections at 1:10 or 1:5 scale should show carcass construction, shelves, plinths and door relationships.
- Junction details at 1:5 or 1:2 scale should resolve scribes, shadow gaps, handles and worktop interfaces.
- A finish schedule should identify every visible face, edge and internal surface.
- A hardware schedule should pair each component with a manufacturer reference and declared capacity.
- Appliance information should reproduce the current manufacturer drawings rather than rely on nominal appliance width.
Electrical outlets, data points, LED drivers and ventilation grilles must appear before approval. The same coordination principle applies to smart systems planned before walls close and to a layered lighting plan. Integrated cabinet lighting also needs an accessible driver location and a route for replacing the light source.
A drawing marked "typical" can conceal the one cabinet that does not fit. The designer should review every change in wall depth, ceiling height, appliance size and door swing before signing the approval stamp.
How tight should cabinet reveals and site tolerances be?
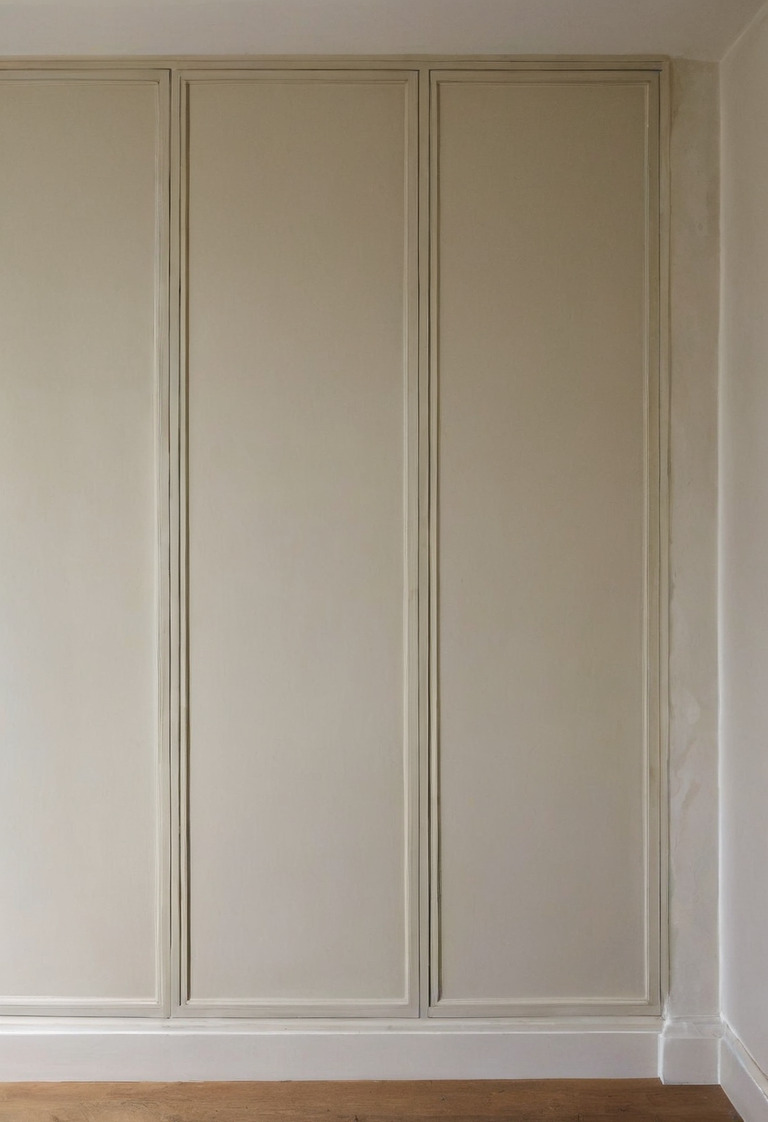
Cabinet tolerances should be written as project requirements rather than presented as universal industry rules. A consistent door reveal may be 2.5 to 3 mm on a refined residential scheme, but the correct dimension depends on hinge adjustment, finish build-up, door size, humidity and the workshop's demonstrated capability.
The site survey should happen after relevant wall finishes, finished floors and ceiling datums are sufficiently established. Early dimensions can still support design, but final production dimensions should reflect the surfaces that the installer will meet.
Scribe panels commonly absorb irregular walls. A 20 to 50 mm-wide project scribe can provide trimming room, depending on the wall condition and design intent. A very narrow filler may fail to cover a leaning wall, while an unnecessarily wide filler wastes storage and weakens the composition.
Floor variation belongs in the plinth or adjustable support strategy. Ceiling variation belongs in a top scribe, shadow gap or deliberately recessed closure. The disciplined junctions associated with minimal interiors that still function require more surveying and coordination, not fewer parts.
Paint thickness can also tighten moving gaps. The paint system, edge radius and sheen should be sampled on the specified substrate; the guide to paint finish and washability covers the practical differences between low-sheen and glossier coatings.
What lead time and budget are realistic for custom cabinetry?
A realistic program separates design coordination, drawing approval, sampling, manufacture and installation. For bespoke residential cabinetry in London during 2026, a planning allowance of 10 to 17 weeks is reasonable after the design is sufficiently resolved. Specialist veneer, stone, metalwork, imported hardware or repeated revisions can extend the program.
| Specification | Indicative installed price per linear meter | Major cost drivers |
|---|---|---|
| Painted MDF doors and melamine-faced carcass | GBP 1,400 to GBP 2,600 | Door profile, paint system, internal fittings and site access |
| Natural veneer doors and veneered visible panels | GBP 2,200 to GBP 4,200 | Veneer grade, leaf matching, edge details and finish sample |
| Detailed solid-timber fronts with specialist interiors | GBP 3,500 to GBP 6,000 | Timber selection, joinery complexity, metalwork and hand finishing |
The 2026 London price ranges are indicative, exclude VAT, loose furniture, electrical work and major wall correction, and assume straightforward installation access. Linear-meter pricing remains a rough briefing tool because drawers, corner units, pocket doors and internal accessories can change cost without changing the run length.
A workable program might allow 2 to 4 weeks for coordinated drawings and samples, 6 to 10 weeks for manufacture, and 1 to 3 weeks for delivery, installation and adjustment. The cabinetry program should sit inside the wider interior design project stages so approvals do not collide with flooring, decoration or stone installation.
The cheapest cabinet quotation often contains the least information. A comparable quotation names substrates, visible finishes, hardware, internal fittings, installation scope and the treatment of every exposed edge.
The client should compare quotations against the same approved drawing set and finish schedule. Clear information does not guarantee perfect cabinetry, but unclear information makes defects, delays and disputed extras far more likely.
Questions readers ask
- Is plywood always better than MDF for cabinetry?
- Plywood offers strong screw holding and better resistance to occasional moisture, while MDF provides a flatter surface for painted doors. The correct choice depends on the component, finish and expected load.
- How thick should cabinet shelves be?
- An 18 mm-thick shelf can suit short, lightly loaded compartments. A shelf spanning more than about 700 mm under books or tableware usually needs greater thickness, a solid front edge or intermediate support, subject to the substrate and load.
- What should a cabinet shop drawing include?
- A complete shop drawing should show plans, elevations, sections, dimensions, materials, grain direction, hardware, service routes, appliance requirements, reveals and wall junctions.
- How long does custom cabinetry take?
- A reasonable 2026 London planning allowance is 10 to 17 weeks between the first coordinated drawing issue and completed installation. Imported veneer, specialist metalwork and delayed approvals can extend that period.